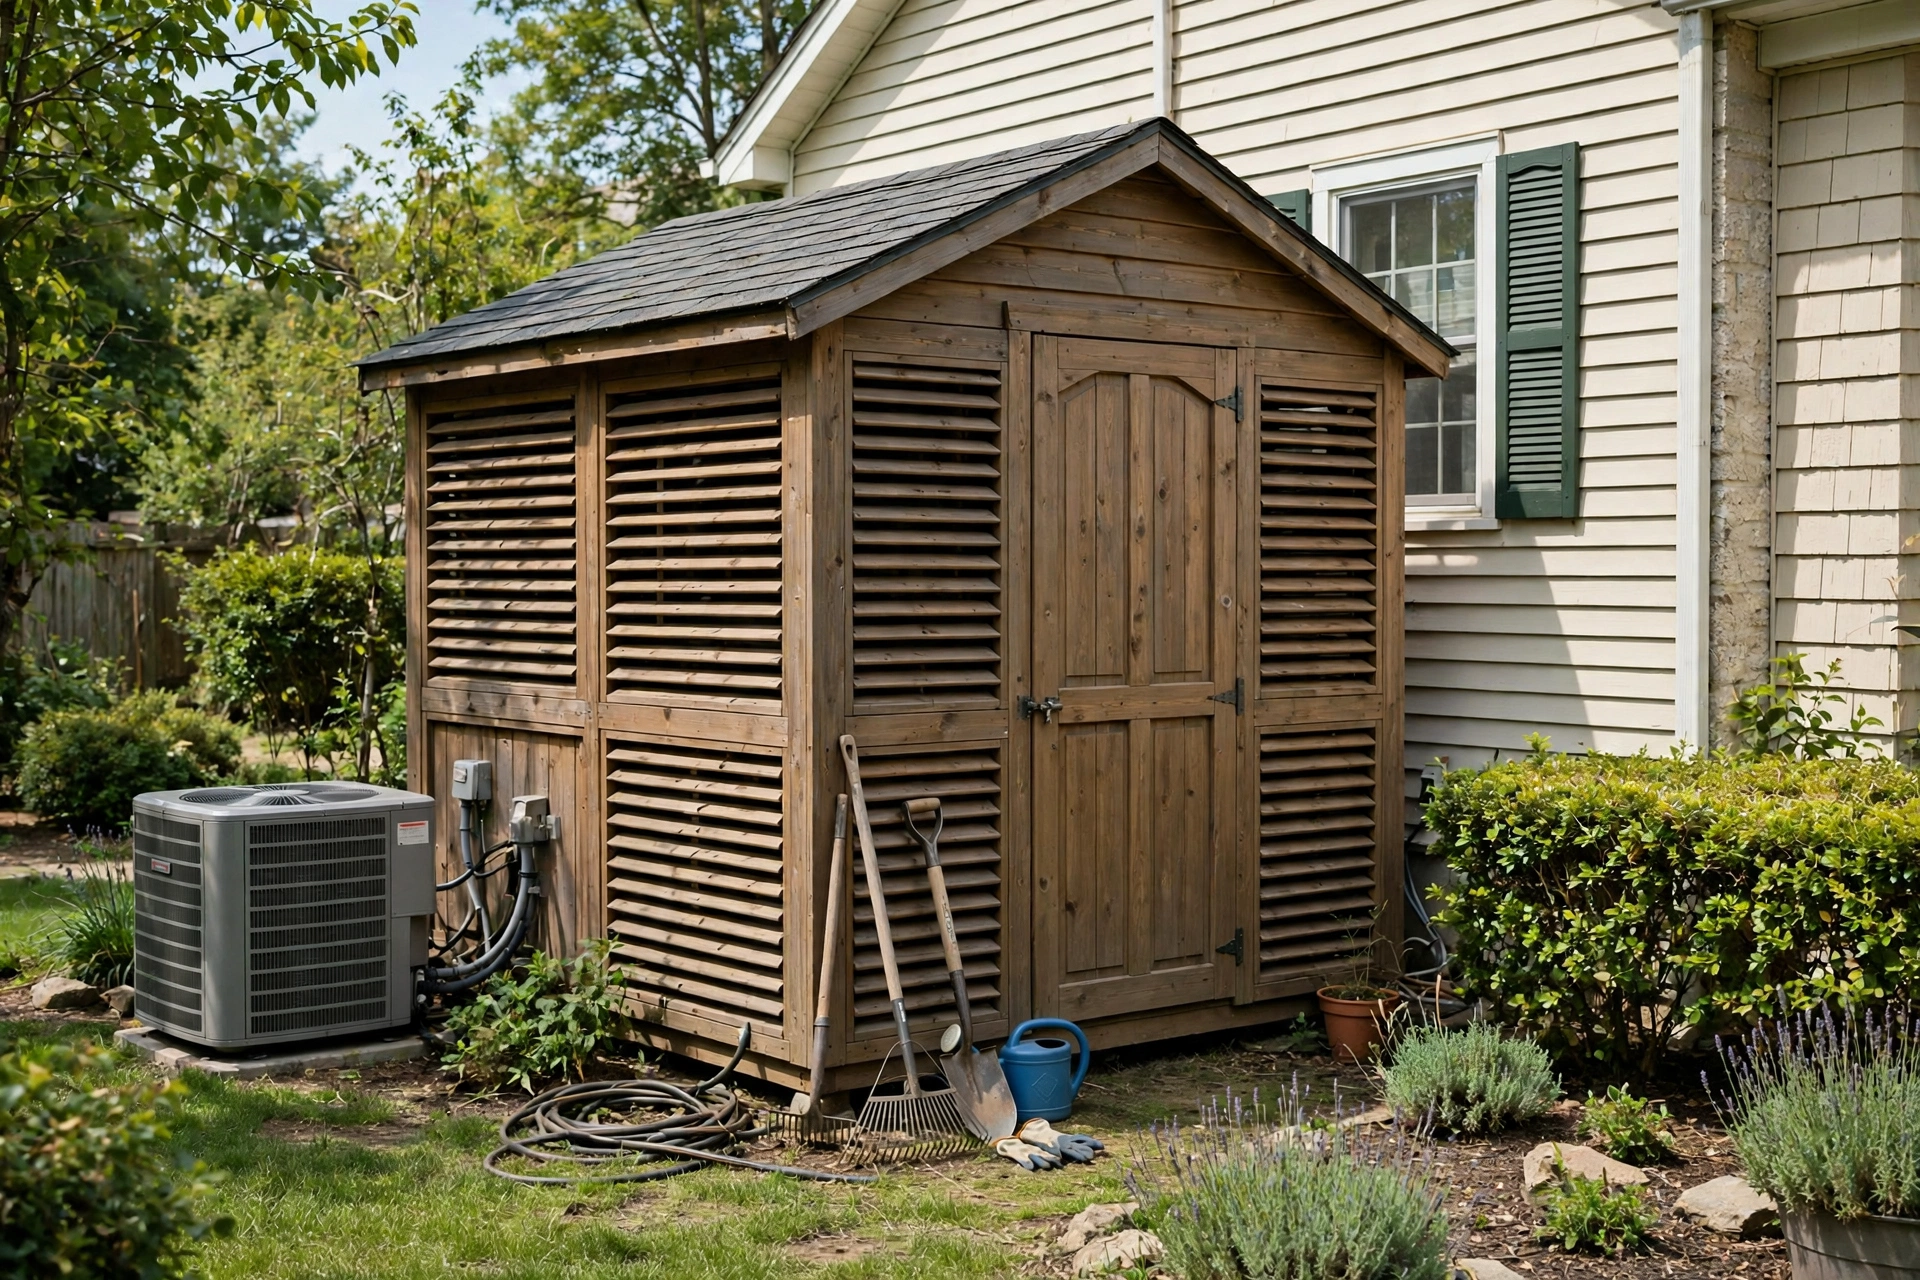
A mower, a pressure washer, a stack of garden tools and a couple of bicycles can quietly take over a garage, and every one of them lasts longer when it lives under a roof of its own. A dedicated outdoor equipment enclosure gives that gear a dry, ventilated home that is built for the yard rather than borrowed from the house. Done well, it protects engines from rain, keeps steel edges from rusting, holds fuel and batteries safely, and puts everything within a few steps of the work. The difference between an enclosure that lasts twenty years and one that rots in five comes down to four decisions: size, ventilation, water management, and materials.
Sizing the Enclosure Around the Equipment You Actually Own
Start with an inventory, not a catalogue size. Measure the longest item first — usually a ride-on mower, a wheelbarrow, or a long-handled tool rack — and then add working room around it. A mower needs roughly a metre of clear space on the side where you stand to service it, and a walkway of at least 60 centimetres lets you reach the back wall without dragging everything out. Write the list down before you buy a single board, because the enclosure you build around a guess is the one you outgrow in a season.
Height matters as much as floor area. Tall items such as a string trimmer hung on the wall or a ladder stored upright need a wall height that clears them by a hand’s width, and a roof pitch that sheds water without stealing headroom at the door. If the enclosure will also hold fuel cans, batteries, or a generator, set aside a separate zone for them with its own ventilation, away from the main door swing. Planning the zones on paper first keeps the finished building from becoming a crowded box where nothing is reachable.
- Measure the largest item, then add at least 60 cm of working clearance on the access side.
- Keep fuel, oil, and batteries in a separate, ventilated corner away from the door swing.
- Allow wall height for the tallest stored item plus a hand’s width of clearance.
- Plan a clear path from the door to the back wall so nothing has to be dragged out to reach the rear.
- Leave one empty bay or shelf free — storage always grows into the space you leave for it.
That last point is the one most builders skip, and it is the one they regret first. An enclosure that is exactly full on the day it is finished has no room for the next tool, the next season’s supplies, or the simple act of moving something aside to fix what is behind it. A little spare capacity costs almost nothing at build time and saves a rebuild later.
How Ventilation Keeps Stored Equipment Dry and Rust-Free
An unventilated enclosure is a damp box. Warm daytime air carries moisture inside, the temperature falls at night, and that moisture condenses on cold steel — engine decks, blade edges, and tool handles. Over a season the result is surface rust, swollen wooden handles, and fuel that goes stale faster. Ventilation breaks that cycle by keeping the air inside close to the air outside, so surfaces stay near the same temperature and condensation has little chance to form.
A commonly cited rule of thumb is roughly one square foot of vent area for every 150 square feet of floor, split between low inlets and high outlets so air moves on its own. In practice, two screened louver vents low on opposite walls and a ridge or gable vent at the top will move a surprising amount of air without any fan. In humid regions, add a small solar-powered exhaust fan on the leeward wall; it costs little, needs no wiring, and keeps air moving on still, muggy afternoons when passive vents alone stall.
Framing, Cladding, and Roof Choices That Survive the Weather
The frame carries the weather, so build it from pressure-treated timber or galvanized steel and keep every cut end sealed. Timber is forgiving to work with and easy to modify later, while steel framing stays straight and shrugs off insects and rot. Whichever you choose, anchor the base frame to the foundation with proper fixings — an enclosure that is not tied down is a sail in the first strong storm, and wind uplift is the failure that owners notice too late.
Cladding is where weather protection meets the look of the place. Resin panels with a wood-grain finish need almost no maintenance and will not rust, rot, or peel. Galvanized steel is tougher against knocks and cheaper per square metre, but it needs its cut edges protected and will show dents. Timber cladding looks the most natural beside a house, yet it asks for a fresh coat of stain or oil every few years. Match the cladding to the maintenance you are actually willing to do, not the maintenance you imagine doing.
| Material | Weather behaviour | Upkeep | Best for |
|---|---|---|---|
| Timber cladding | Natural look, needs sealing against rain | Re-stain or oil every few years | Gardens where appearance matters most |
| Galvanized steel | Tough, sheds rain, can dent | Check cut edges, touch up scratches | Heavy-use storage, tight budgets |
| Resin (polypropylene) panels | Will not rust, rot, or peel; UV resistant | Wash down occasionally | Low-maintenance, damp climates |
| Fibre-cement boards | Fire resistant, stable in wet weather | Repaint when the coating fades | Long-life builds near the house |
Whatever cladding you pick, the roof deserves the same attention. A single-slope or shallow-pitch roof with a proper overhang throws rain clear of the walls, and a light-coloured or reflective surface keeps summer temperatures down. Felt or shingle roofs are cheap and quiet in rain; metal roofing lasts longer and sheds snow and leaves, but it is louder and needs a condensation barrier underneath so drips do not fall on stored equipment.
A Drainage and Floor Detail That Keeps Water Out
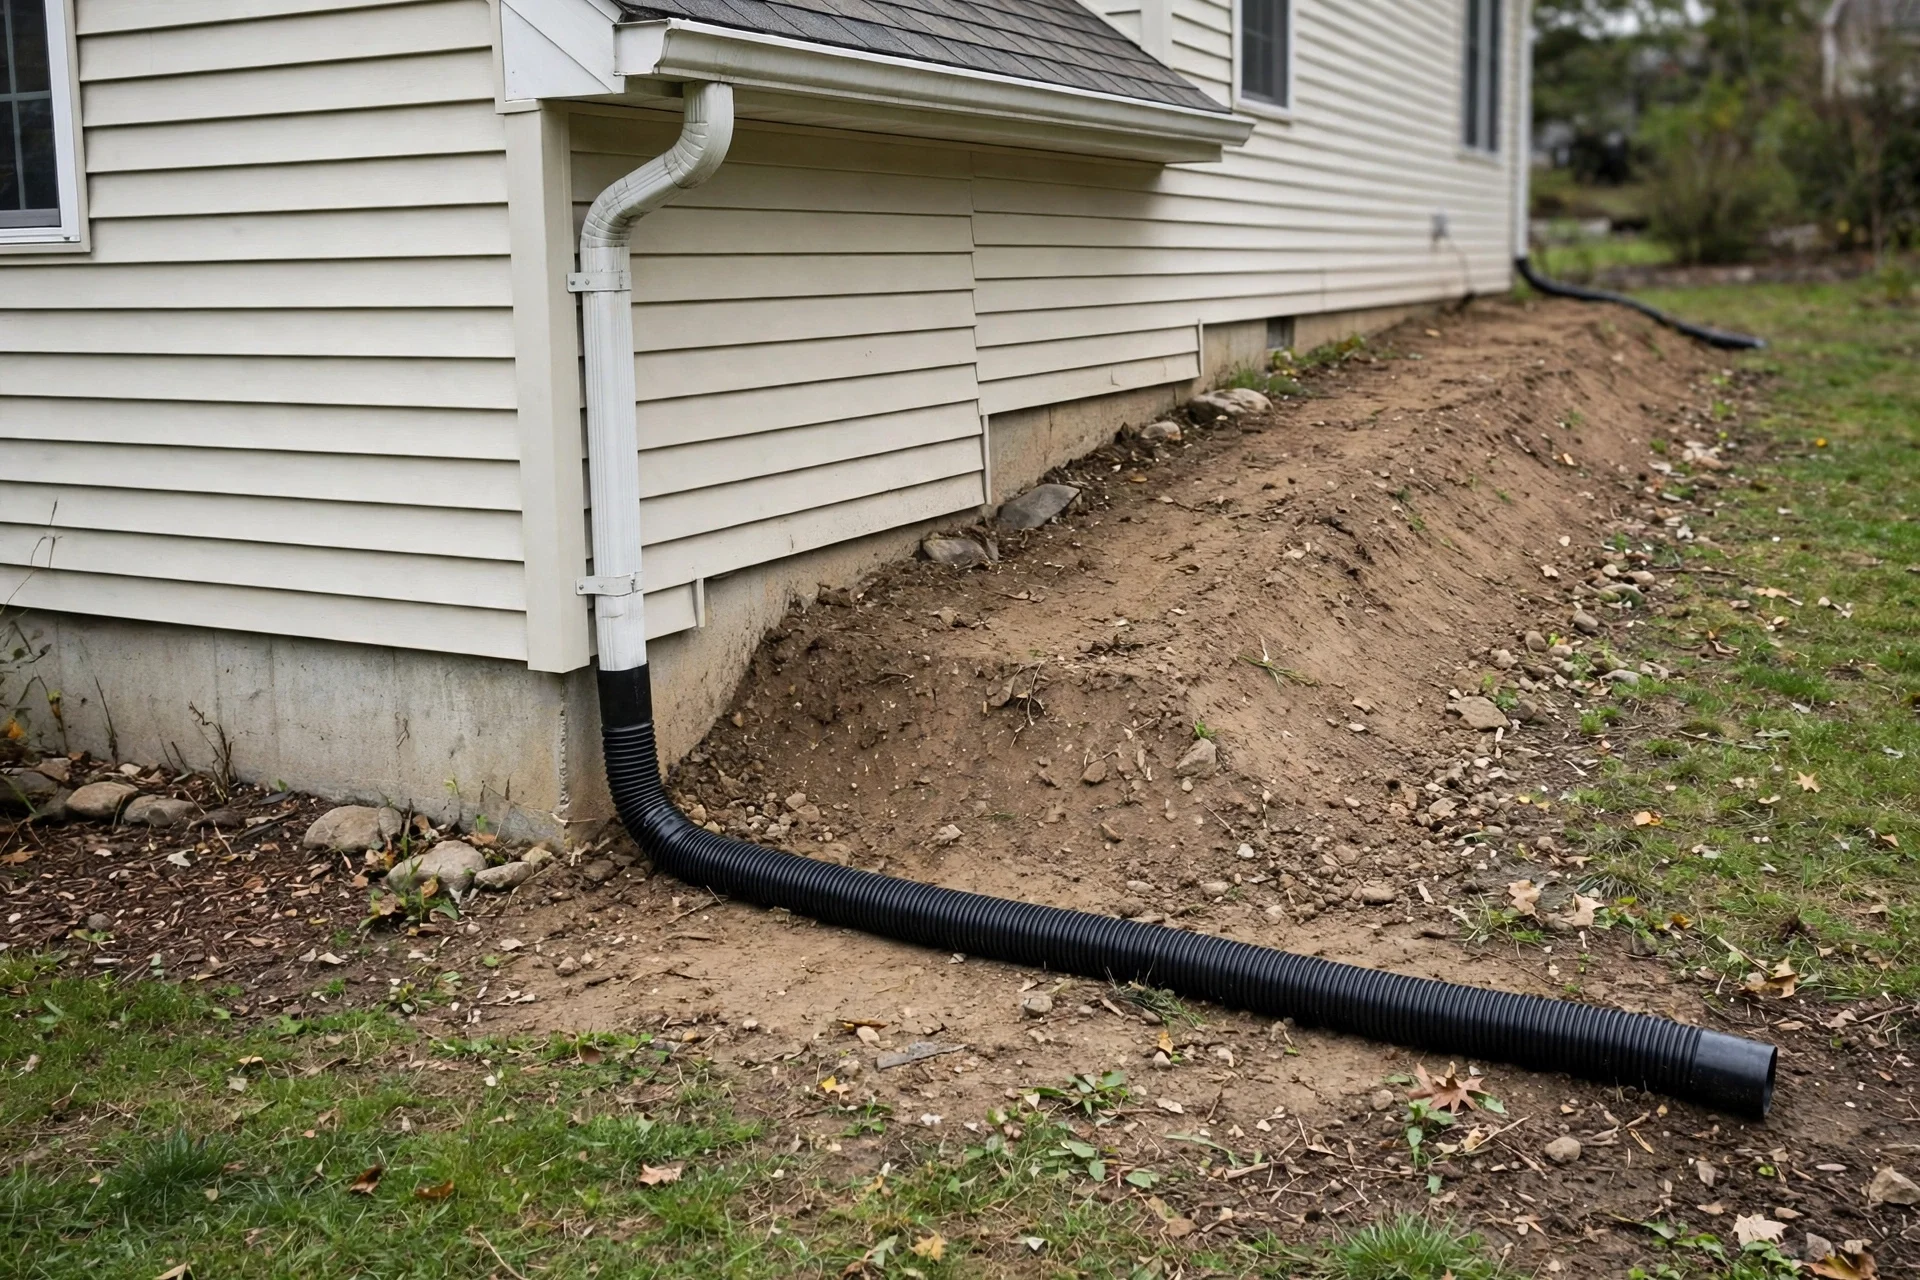
Water finds the lowest point, so give it somewhere to go that is not inside. Set the enclosure on a raised base — a concrete pad, compacted gravel bed, or timber deck — that sits at least 10 centimetres above the surrounding ground, and shape the ground around it to fall away from the walls. A shallow gravel trench or a simple French drain along the uphill side catches runoff before it reaches the base, and a drip edge on the roof keeps wall cladding dry.
Inside, the floor should be hard, level, and easy to sweep. A concrete slab is the most durable choice and lets you roll heavy equipment in and out without rutting the surface. Paving slabs on a compacted base are a good middle ground, while a timber floor needs a damp-proof membrane beneath it and will eventually need boards replaced. Whatever the surface, leave a small gap between stored items and the walls so air can circulate and a stray splash has somewhere to dry instead of soaking into a timber sole plate.
Vent Placement: Getting Air In Low and Out High
Vents only work when they are placed as a system. Cool air should enter low, warm moist air should leave high, and the path between them should cross the space where equipment sits. That means inlets near the base of the walls on the windward side and outlets at the ridge or high on the leeward gable. Vents placed at the same height on the same wall mostly stir the same pocket of air and leave the rest of the enclosure stale.
- Put inlet vents low on two walls so fresh air sweeps across the floor.
- Put the outlet at the ridge or high gable so warm, damp air escapes on its own.
- Screen every opening with fine insect mesh and a rain louvre.
- Keep vents clear of stored items — a blocked vent is the same as no vent.
In hot climates the same layout doubles as a cooling system, pulling cooler air through the enclosure during the day and flushing stored heat at night. In cold climates, add closable shutters to the inlets so you can choke the airflow back in deep winter without sealing the building completely — a little air movement still matters when the temperature swings, because that is when condensation forms fastest.
Locking, Lighting, and Everyday Access
An enclosure that is hard to open will be left open, and an enclosure left open is not weather protection at all. Double doors wide enough for the largest item, with a threshold that a mower wheel can roll over without a bump, make daily use painless. A hasp and padlock, or a built-in lockable handle, keeps honest people honest and deters casual theft; for expensive power tools, a second lock or an internal hasp is cheap insurance.
Light is the other half of everyday use. A small window or a translucent roof panel turns a dark box into a workspace where you can find a spanner without a torch, and it costs nothing to run. If you work in the enclosure after dark, a solar LED with a motion sensor is the simplest upgrade — no wiring, no switch to remember, and it switches itself off when you leave.
Seasonal Upkeep That Extends the Enclosure’s Life
An enclosure asks for very little, but what it asks for is regular. Twice a year — once before the wet season and once after it — walk around the building with a critical eye: check the roof for slipped or damaged covering, clear leaves from gutters and vents, look for rust on steel fixings, and confirm that the base is still shedding water away from the walls. A ten-minute inspection catches the small failures that become expensive repairs.
| Season | Check | Why it matters |
|---|---|---|
| Before the wet season | Roof covering, guttering, vent screens | Stops leaks and keeps airflow open before the rain arrives |
| After the wet season | Base drainage, timber for rot, steel for rust | Catches water damage while it is still small |
| Spring | Door hinges, locks, and floor level | Restores smooth access after winter movement |
| Summer | Ventilation, heat build-up, pest entry points | Keeps stored equipment cool and pest-free |
Keep a simple log of what you checked and what you fixed — a note on the inside of the door works well. Over a few years that log becomes a record of the building’s weak points, and it tells you whether a repair is a one-off or a pattern worth redesigning.
Outdoor Equipment Enclosure FAQs: Ventilation, Sizing, and Weatherproofing
How big should a dedicated outdoor equipment enclosure be?
Size it from an inventory of what you own, not from a catalogue. Measure the longest item, add at least 60 centimetres of working clearance on the access side, and keep a clear path to the back wall. Most households find that a footprint of roughly 2.4 by 3 metres covers a mower, garden tools, and bicycles, while ride-on equipment or a workshop corner needs more. Leave one bay empty, because storage always grows into spare space.
How much ventilation does a garden equipment enclosure need?
A widely used rule of thumb is about one square foot of vent area per 150 square feet of floor, split between low inlets and high outlets. Two screened louvre vents low on opposite walls plus a ridge or gable vent will move enough air for most enclosures. In humid regions, add a small solar exhaust fan so air keeps moving on still afternoons when passive vents alone are not enough.
What is the best floor for an outdoor equipment enclosure?
A concrete slab is the most durable choice: it is level, easy to sweep, and lets heavy equipment roll in and out without rutting. Paving slabs on a compacted base are a solid middle ground and cheaper to lay. A timber floor works only with a damp-proof membrane beneath it and will need boards replaced over time. Whatever you choose, raise it at least 10 centimetres above the surrounding ground.
Can an equipment enclosure be built against the house wall?
Yes, and it can work well, but the junction needs care. The enclosure roof must flash into the house wall so rain cannot run down behind it, and the house wall behind the enclosure should have its own weather protection. Leave a small gap or a ventilated cavity between the two structures where possible, so moisture cannot sit trapped against the house cladding.
How do I stop condensation inside a metal equipment enclosure?
Condensation forms when warm, moist air meets a cold metal surface, so the fix is airflow plus a thermal break. Keep low inlets and high outlets open so inside and outside temperatures stay close, fit an anti-condensation membrane or insulated liner under a metal roof, and avoid storing wet equipment straight after use. A small solar fan helps on humid, still days.
Final Thoughts: Building an Equipment Enclosure That Earns Its Keep
A dedicated outdoor equipment enclosure is a modest building with an outsized effect: it takes the clutter out of the garage, adds years to the life of every engine and blade it shelters, and puts the right tool within reach when the work starts. The buildings that last are the ones sized from a real inventory, ventilated as a system, raised above the water, and checked twice a year. Get those four decisions right and the enclosure stops being a box in the yard and becomes one of the hardest-working parts of the property.